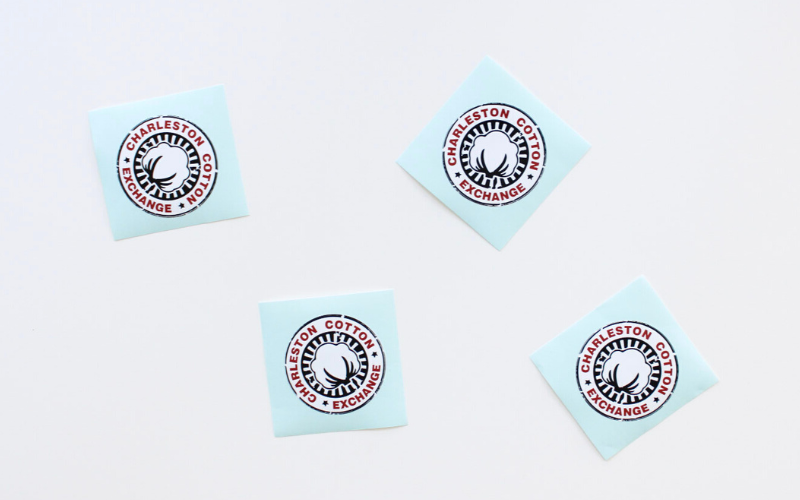

Vinyl decals can take an area from plain to original and fun within a few steps. While it is fairly simple, it is important to follow some guidelines when you are applying. Take a look at our instructions guide below so your decal will adhere correctly.
1. It’s important to begin by cleaning the area. This is the one time you will not want to clean your windows with Windex. It may leave a residue that is challenging to get rid of. Soap and water/rubbing alcohol will do the trick! We recommend doing this in a warm and dry environment.
2. After the window is clean and ready, you need to make sure the sticker/decal is ready to go. Sometimes you get air bubbles on the decal, so it’s a good idea to take a firm object and rub across the decal.
3. It’s time to peel the back off. In this step, you simply take the back, white grid paper backing part of the decal off. If your decal happens to stick to the backing, the second step will need to be repeated.
4. Next, you’re ready to apply your decal. Align the decal on the surface, then press it firmly making sure it’s in place and free of air bubbles. Now you should wait about 24 hours before moving to the last step!
5. After you’ve waited, slowly take the transfer tape off at an angle. Be careful that the sticker doesn’t come off in the process, repeat step 4 if so.
Now that you have these simple steps, you’re ready to make your space more creative. To place an order for your customized vinyl, check out our website or give us a call at (843) 764-0740 today!